
QuickBooks Import migrates your company data from QuickBooks Desktop into TBA. It happens in two phases: first the “setup” data (accounts, customers, vendors and so on), then your items and transaction history. You need the Import permission to use it (see Users and Permissions), and a Windows computer with QuickBooks Desktop installed.
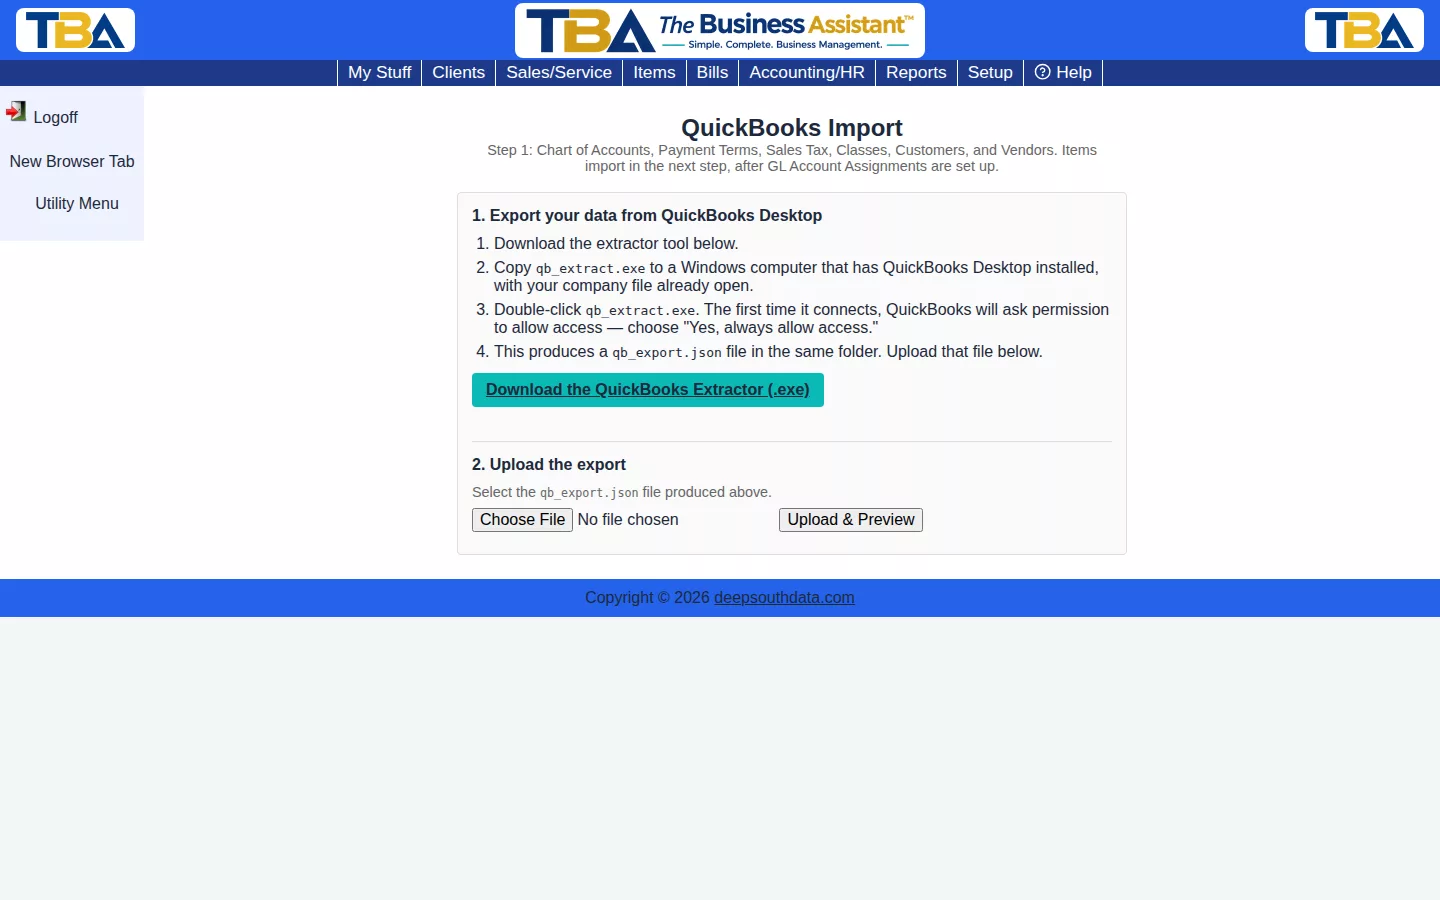
Step 1: Export from QuickBooks Desktop #
- Click Download the QuickBooks Extractor (.exe) on the import page.
- Copy it to a Windows computer that has QuickBooks Desktop installed, with your company file already open.
- Double-click qb_extract.exe. The first time it connects, QuickBooks asks permission to allow access; choose “Yes, always allow access.”
- It creates a file named qb_export.json in the same folder.
Step 2: Upload the Export #
Choose the qb_export.json file and upload it. TBA reads it and shows how many records of each kind it found. Nothing is imported yet.
Step 3: Review What Will Be Imported #
Choose What to Import #
Everything is imported by default. Untick any table you would rather leave out. Unticking a table also unticks anything that depends on it — for example, unticking Vendors also unticks Sales Tax, Items, Bills, and Vendor Payments, because those can’t import correctly without vendors.
Phase 1 covers: Payment Terms, Chart of Accounts, Classes, Vendors, Employees, Sales Tax, Fixed Assets, Customers (which become clients), and Items.
Advanced: Field Mapping #
Open Advanced: Field Mapping to see every QuickBooks field found, with sample data, listed in the order things depend on each other. For each field you can pick a transform (trim, find and replace, add a prefix or suffix, upper or lower case, or a fixed value) and, optionally, which TBA field it should feed; the preview updates as you go. Fields start pre-filled with what the automatic import already does, so you are editing a working starting point. Leave a field’s destination as (none) to leave that part of the import as it is. Most people never need this.
Step 4: Run Phase 1, Then Set Up Your Accounts #
Items and transaction history post real entries to your books, so before the second phase TBA asks you to finish two things (each opens in a new tab):
- Default G/L Settings — point routine activity at the right accounts from the chart you just imported. See Default G/L Settings.
- General Options — your company information and features. See General Options.
Fiscal Year — entries can only post into an open accounting period, so TBA offers to create a standard fiscal year (the calendar year with a monthly period for each month). Make sure periods exist for all the dates you are importing; see Fiscal Year and Year-End Closing.
Phase 2: Items and Transaction History #
This imports Items (including opening inventory balances), then your transactions: Invoices, Estimates (which become quotes), Credit Memos, Bills, Vendor Credits, Purchase Orders, Customer Payments, Vendor Payments, Sales Receipts, Deposits, Journal Entries, and Time Tracking. As before, everything is selected by default and you can untick tables; dependent tables untick with them (for example, unticking Bills also unticks Vendor Payments).
Field Mapping is also available here, but with fewer fields, since these records are mostly about posting to the books, line items, and linking documents together. Only plain header-level dates, text, and reference numbers are mappable. Amounts, taxes, and line items always import exactly as they are.
Results #
When the import finishes, the Results section shows what was imported and anything that could not be, with the reason, so you can fix it in QuickBooks or TBA. Imported items can be re-imported safely: records already brought in are updated, not duplicated.
After the Import #
- Imported time entries can be reviewed under QB Time Entries.
- If your payroll ran through QuickBooks Payroll, use Payroll GL Import to bring those totals in.
- Compare your Trial Balance with QuickBooks’ to make sure they agree, and check AR Aging and AP Aging against the QuickBooks versions.
- Set where reconciliation starts and your opening balances in Fiscal Years.
Computer Required #
QuickBooks Import is a one-time migration that also needs a Windows computer running QuickBooks Desktop, so it always shows the regular desktop layout, even on a phone. See Using TBA on Your Phone.


