
Client Page #
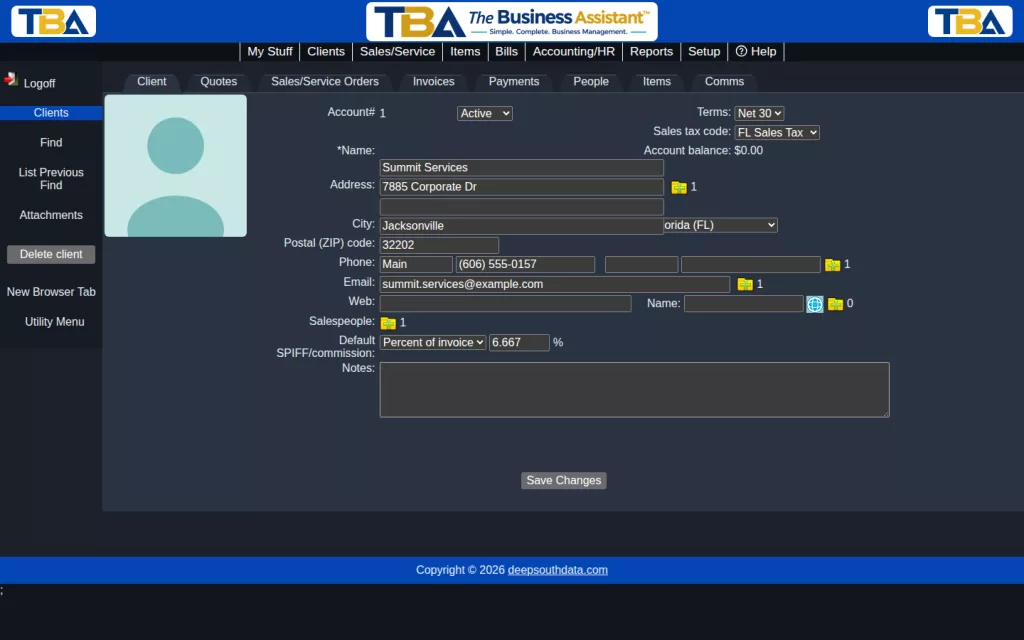
Here, you will keep all of the details for your client. You can also easily access all of their transactions — quotes, sales/service orders, invoices, etc. For an overview of Client View, click here.
Active/Inactive #
This dropdown let’s you set a client to inactive. You can then choose to view only active or inactive clients when you browse your list of clients.
Terms #
Here, you can choose what payment terms you will typically extend to this client. You can change the payment terms for each invoice when you create it.
Sales Tax Code #
This defines what their typical sales tax will be. If you usually deliver your goods and services to this client’s location, you can specify that sales tax rate. This can also be changed for each invoice.
For help on setting up sales tax codes and sales tax vendors, click here.
Addresses #
Notice the icon that looks like a folder with a plus sign next to the address fields.

If you click that icon, a dialog box opens, where you can update and add more addresses for this client, such as main warehouse or HQ.
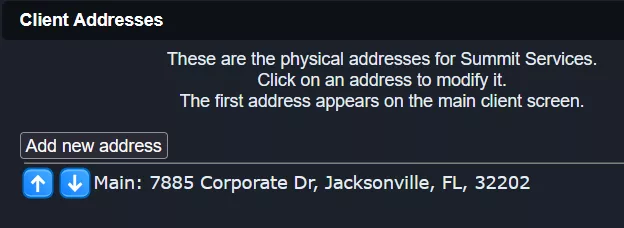
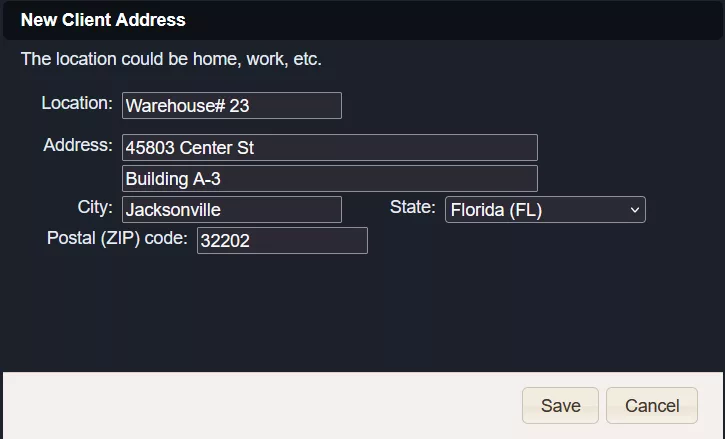
Click the “Add new address” button, and you will see another dialog where you can add, then save the new address.
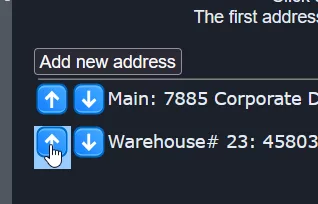
Use the arrows on the left side to change the order of the client’s addresses. The first address shows up on the main client screen.
Phone Numbers, Email, Web #
Here you keep track of all of your client’s phone numbers, email addresses (i.e. [email protected]), and web site(s).
Salespeople #

If you have people who work on commission, the person/people assigned to this client can be specified here, along with the type and amount of commission.
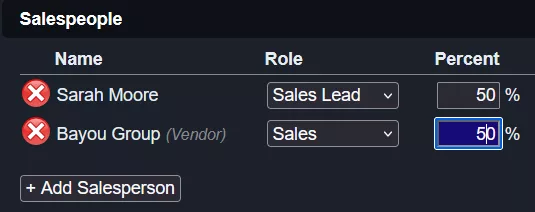
You can even assign a vendor (1099-type person or company) as a salesperson. Here, we see that Sarah Moore and Bayou Group will split the 6.667% commission for this client’s sales.
Notes #
This is a handy place to put reminders about this client. You can also track individual communications in the Client Comms section.
Attachments/Pictures #

In the left sidebar, you can click on the Attachments link. For detailed help on attaching files and photos, click here.
Other Fields on This Page #
- Name (required) — the client’s name. Enter a person as first and last name, or a company as its name; the list can be sorted by either first or last name.
- Account# — your own account number for this client, if you use one. It appears on the Client List and can be searched in Find.
- Account balance — what the client currently owes you, calculated from their open invoices, payments, and credits. You can’t type in this field.
- Site — which of your sites this client belongs to. Shown only when your company has two or more sites.
- Default SPIFF/commission — next to Salespeople: choose None, Percent of invoice, or Flat amount, then enter the percent or dollar amount. New invoices for this client start with this setting, and you can change it on each invoice.
Saving and Deleting #
Click Save Changes at the bottom to keep your edits. Delete client in the sidebar removes the client record; it is only available to users with permission to delete clients (see Users and Permissions). If you just want a client out of your everyday list, set them to Inactive instead — nothing is lost.
On a Phone #
On a phone the Client page is a single column. Account#, Active/Inactive, Name, Account balance, Terms, Site, and Sales tax code come first. The folder-with-plus icons for addresses, phones, emails, web sites, and salespeople sit beside their labels, with the fields below. The address, phone, email, and web dialogs show each entry as a card with its reorder arrows and delete button. Tabs across the top wrap onto several rows. See Using TBA on Your Phone.


